Deep Dive
How to Fix Shoulder Pain With Pressing Without Missing Any Training
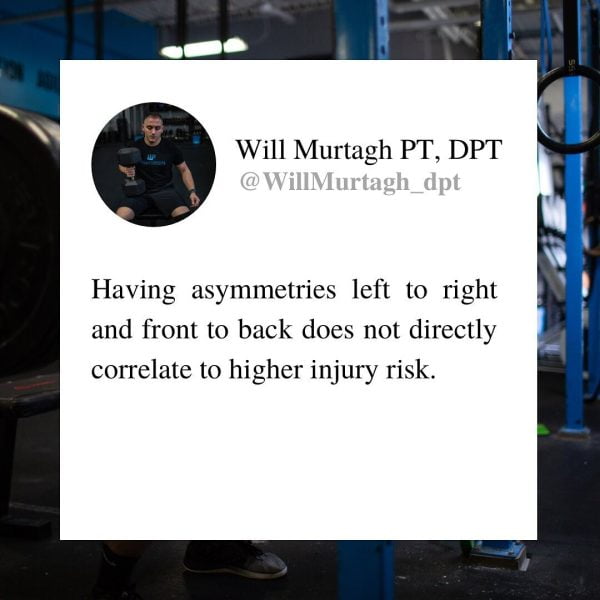
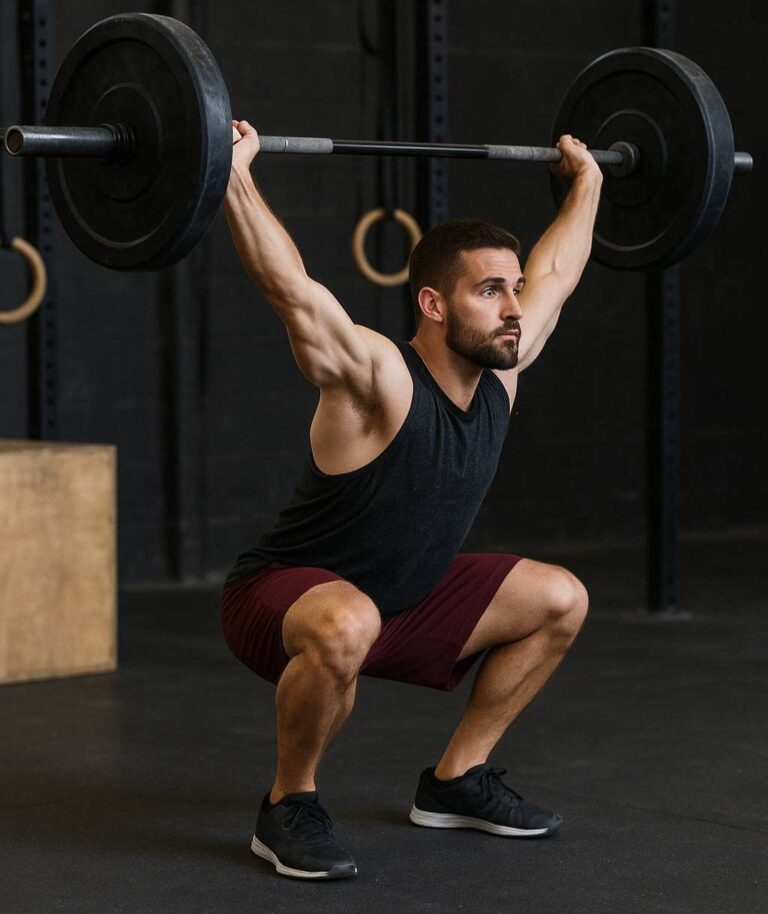
The shoulder is the most commonly injured joint in CrossFit.
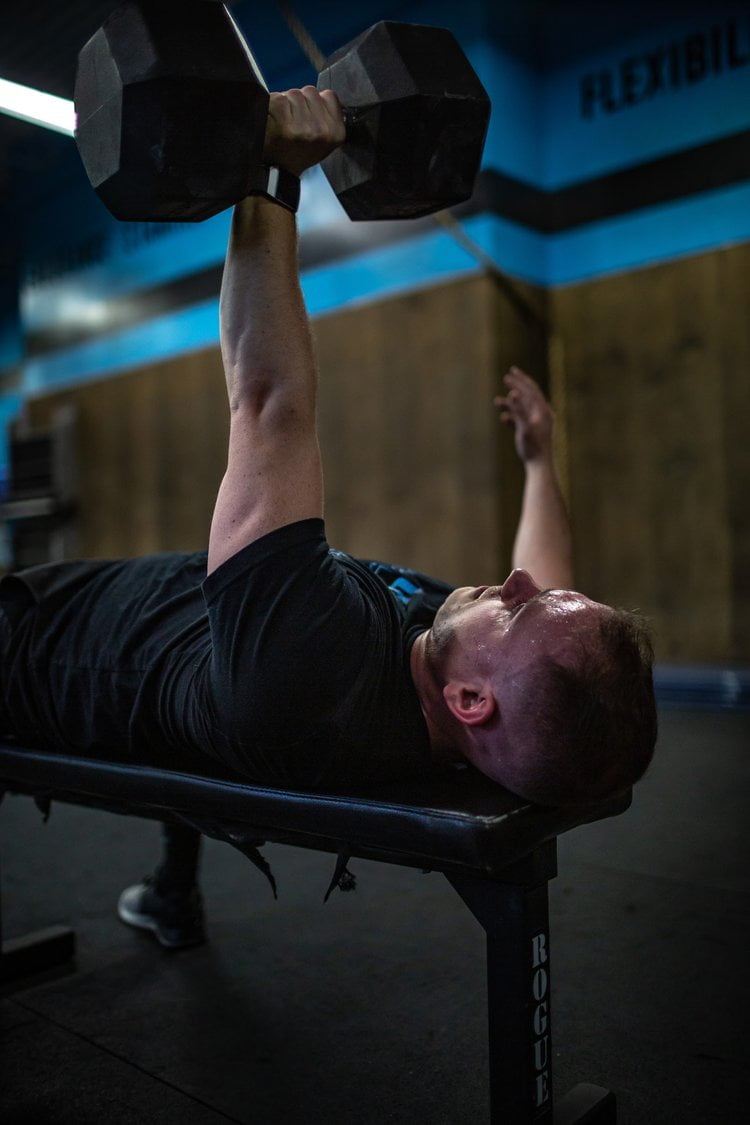
The vertical press is the most shoulder-dominant strengthening movement you can do.
Thus, many CrossFit athletes struggle with discomfort or pain during overhead movements like the push press, snatch, or strict press.
Which limits your training progress and can make you feel like you’re constantly modifying or avoiding key lifts.
The good news is that this isn’t something you have to live with.
Below, you’ll learn the same step-by-step framework I used to fix my own shoulder pain as well as the clients I work with.
So you can return to pain-free pressing with full confidence in your strength and control.
Why Your Shoulder Hurts While Pressing
To understand why your shoulder hurts when you press overhead, you first need to look at the anatomy involved.
The overhead press requires coordinated movement between your arm, shoulder blade, upper back, deltoid, and rotator cuff.
Each of these structures has to move in sync to create a stable and efficient path for the barbell or dumbbell to travel.
When one piece of this system breaks down, you’re more likely to experience pain.
A stiff thoracic spine (upper back) prevents your rib cage from extending, which restricts your shoulder’s ability to reach full flexion.
Poor scapular (shoulder blade) control limits upward rotation, which can cause faulty movement of the head of your humerus (arm)..
If your rotator cuff lacks strength or coordination, you won’t have the stability needed to keep the shoulder centered during loading.
You might notice a sharp or pinching pain at the top of the press, or a lingering ache after workouts that include jerks, snatches, or wall balls.
Some athletes feel limited by their range of motion, noticing that they can’t fully lock out without pain or compensation.
The go-to fix is stretching their shoulders, pushing through pain, or continuing to overload the press without addressing movement quality.
Leading to more irritation and delayed progress.
The Cost of Ignoring Shoulder Pain
When you ignore shoulder pain, your body quickly finds ways to compensate.
You may start arching your back excessively, flaring your elbows out, or pressing with an altered bar path.
These compensations can temporarily allow you to complete the lift, but they increase stress on your joints and reduce efficiency.
Long-term, this can lead to more serious conditions like impingement syndrome, labral issues, rotator cuff tendon issues, and more.
You also risk losing hard-earned strength gains and the trust you have in your body’s ability to perform.
But, it doesn’t have to be this way.
The 5-Step Process to Fix Shoulder Pain and Rebuild Overhead Strength
Step 1: Identify the Root Cause
Before you can fix shoulder pain, you need to understand why it’s happening.
The first step is determining whether your issue is related to mobility or stability.
You can do this through a few simple self-assessments.
Try the scratch test to check internal and external rotation.
Use a seated PVC lat test to see if shoulder flexion is limited by stiffness or compensation.
The lumbar lock thoracic rotation test will give you insight into your thoracic mobility.
If these tests are limited when you perform them under your power but not when a partner assists, you likely have a stability problem.
If they are limited, regardless of whether you perform them or if a partner assists, you’re likely to have a mobility issue.
You can also test shoulder endurance and control with a forearm side plank.
Remember that pain is a signal that something isn’t working well, not the root problem itself.
These tests will help you find the true source of your limitation.
Step 2: Restore Mobility
If your assessments show stiffness or movement restriction, you’ll need to improve mobility in a few key areas.
Start by working on thoracic spine extension.
You can use foam roller extensions or thoracic rotations to improve the mobility of your upper back.
These drills allow your rib cage to move more freely, creating space for your shoulder to press overhead.
Next, address shoulder external rotation with PVC external rotation stretches and internal rotation with the sleeper stretch.
Limited external rotation can prevent your shoulder from aligning properly during pressing.
You also need to improve scapular upward rotation to allow smooth overhead movement.
Wall slides can help train that pattern while promoting good posture and shoulder control.
Step 3: Build Stability and Control
Once mobility improves, you need to build the control that holds your shoulder in place under load.
Focus on strengthening your rotator cuff and scapular stabilizers.
Sidelying external rotations are a reliable drill to target the rotator cuff directly.
Kettlebell bottom-up presses train your ability to stabilize the shoulder in an overhead position.
Scap push-ups reinforce control of the shoulder blade and rib cage together.
You should also train your core with plank variations to resist excessive extension, especially during pressing.
This helps you press without relying on compensations.
Controlled eccentrics (slow descents) and isometric holds are especially useful during this phase.
They build endurance and train your nervous system to hold good positions under fatigue.
Step 4: Reinforce Better Pressing Mechanics
With improved mobility and stability, you can now focus on refining your pressing mechanics.
Start by rebuilding your strict press before progressing to dynamic movements like the push press or jerk.
Focus on keeping your ribs down, maintaining a vertical bar path, and moving with control.
Allow your scapula to move with the arm, rather than the “back and down” cue.
Use tempo and pause work to improve your awareness and timing.
Keep the weight light and the volume manageable until your mechanics are consistent, then move to the next step.
Step 5: Return to Overhead Confidence
Once your mechanics are solid and you can press without discomfort, it’s time to reintegrate overhead pressing into your training.
Start with less aggressive variations like landmine presses or dumbbell presses and move to the barbell press variations.
EMOMs (every minute on the minute) can also help build conditioning and control total loading.
You can use RPE-based (rating of perceived exertion) programming to make sure you’re not pushing too hard, too fast.
Ramping up in intensity over time and tracking increases in load over time.
Percentages can work, but your one-rep max may be off due to a drop in press training.
Lastly, continue doing your mobility and accessory work consistently, even after the pain goes away, to optimize the shoulder complex.
Final Thoughts on Shoulder Pain With Pressing
Shoulder pain during pressing isn’t something you have to live with.
It’s a sign that your body needs attention, not a signal to stop training entirely.
By following the right steps to identify the root cause, restore mobility, build control, and refine mechanics, you can regain strength and confidence overhead.
These are the exact steps I take with my shoulder (and any other joint) pain clients to resolve their pain while keeping them in the gym training.
Get clear on what is causing the issue and attack it.
Focus on consistency instead of intensity, especially early on.
Small, regular improvements will carry you further than aggressive fixes or ignoring the issues.
Use this newsletter as your guide to work through shoulder issues step by step.
And if you’re unsure where to start or have specific questions, reply to this email.
I’m here to help.