Deep Dive
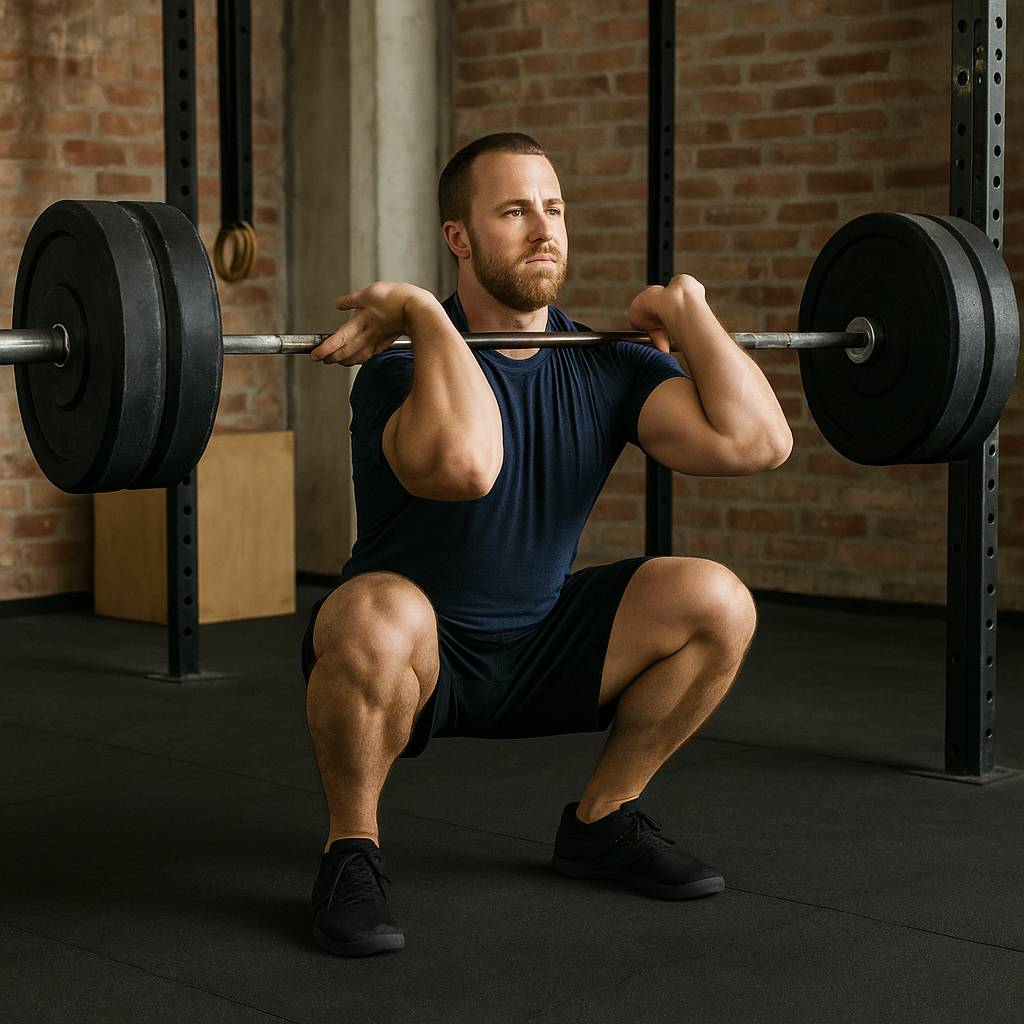
How to Fix Elbow Pain in the Front Rack Position For CrossFitters
Elbow pain in the front rack position is a common issue among CrossFit athletes and often shows up during cleans, front squats, and jerks.
When your elbow starts to hurt, it can limit your ability to train effectively.
You may have to scale movements, modify workouts, or avoid certain lifts entirely.
That kind of disruption adds up quickly and slows your progress in the gym.
Below, we’ll outline why your elbow hurts during the front rack.
With a clear, actionable plan to fix the problem and return to pain-free training.
Why Your Elbow Hurts in the Front Rack Position
The elbow is built for stability.
Its main role is to transfer force from your hand and wrist to your upper arm.
It is not designed to absorb large amounts of torque or rotation.
When your elbow becomes painful during front rack movements, the issue likely starts elsewhere in your body.
The front rack position requires mobility from your wrists and shoulders, along with strength and control through your upper back and core.
Your wrists need enough extension to allow the bar to sit properly on your shoulders.
Your shoulders must externally rotate so your elbows can point forward.
Your upper back must extend to keep your chest tall.
Your core must support all of this by maintaining a neutral spine under load.
When one part of this system breaks down, your elbow pays the price.
For example, if your wrists are stiff and can’t extend enough, your elbows alter position to compensate.
The change in the angle of the joint places stress on soft tissues that are not designed to handle it.
If your shoulders lack external rotation, your elbows may torque excessively to make up for that restriction.
If your upper back is stiff, you will likely lean forward during the lift, which shifts the bar position and increases pressure at the elbow.
Regardless of how it shows up, the pain is usually a symptom of poor mechanics somewhere else in the chain.
The Cost of Elbow Pain in CrossFit
When your elbow hurts in the front rack, your ability to train essential CrossFit movements drops off fast.
You may find yourself avoiding cleans, jerks, front squats, or pressing variations entirely.
These are foundational exercises that build full-body strength and drive progress in your training.
Skipping them means missing out on skill development and key strength adaptations.
Repeatedly scaling or avoiding movements because of pain can feel frustrating and demoralizing.
You start second-guessing your workouts and lose confidence in your ability to push hard.
Over time, avoiding pain instead of addressing it leads to plateaus in strength, reduced muscle gain, and slower fat loss.
To avoid this and help alleviate elbow pain, follow the steps below.
These are the exact steps I would take for one of my 1:1 Pain-Free Performance Program clients if they came to me with elbow pain in the front rack.
Step-by-Step Plan to Eliminate Elbow Pain
1. Assess the Source of the Problem
Before you change your training or mobility work, assess your current limitations.
Most front rack pain doesn’t originate at the elbow.
It often stems from poor mobility in your shoulders, wrists, or thoracic spine.
The Scratch Test
Use the scratch test to evaluate shoulder mobility.
Reach one hand over the top and the other up from the bottom of your back.
If your hands don’t come close together, your shoulder range may be limiting your front rack.
(Demo video)
West Extension Test
For the wrists, stand facing a wall with your arm extended, palm flat, and fingers pointed up.
Lean forward.
If you can’t get your shoulder to the wall without your palm lifting, your wrist extension is restricted.
(Demo video)
Lumbar Lock Thoracic Rotation Test
To assess thoracic rotation, try the lumbar lock thoracic rotation test.
Sit your hips back toward your heels, place one hand behind your head, and rotate that elbow toward the ceiling.
Limited rotation (less than 50 degrees) means your upper back isn’t contributing enough to the front rack.
(Demo video)
2. Improve Wrist Extension
If your wrists can’t extend enough, your elbows drop and flare out, which puts valgus stress on the inside of your elbow joint.
This tension builds up over time and can lead to pain in the elbow..
Quadruped Wrist Extension Rock
Quadruped wrist extension rocks help open the joint extension gradually.
Start on all fours with fingers forward and gently rock your shoulders over your hands.
(Demo video)
Eccentric DB Wrist Flexion
Eccentric dumbbell wrist flexion builds strength through range to help expand it.
Rest your forearm on a bench, palm up, and slowly lower a light dumbbell through full wrist extension.
Then flex it back up.
This strengthens and lengthens your wrist flexors and supports a better front rack.
(Demo video)
3. Mobilize and Strengthen the Shoulders
Restricted shoulder mobility or weak scapular control will compromise your front rack.
If you lack shoulder external rotation or can’t reach full flexion, your elbows won’t stay high under the bar.
Banded Lat Stretch
Use the banded lat stretch to target tight lats that pull your elbows down.
Anchor a resistance band overhead, grip it with your palm up, and sink your hips back.
This opens the shoulder and allows more overhead range.
(Demo video)
Wall Slides
Wall slides promote scapular upward rotation and strengthen shoulder stabilizers.
Stand with your arms flat against a wall and slowly slide your hands upward.
To increase the challenge, add a band or pillow case around the wrists.
(Demo video)
4. Unlock Your Thoracic Spine
Your upper back must extend to keep your torso upright and elbows high.
If it stays rounded, the bar drifts forward, and your elbows compensate.
PVC Prayer Stretch
The PVC prayer stretch improves thoracic extension.
Kneel in front of a bench, place your elbows on it holding a PVC pipe, and lower your chest toward the floor.
(Demo video)
Thread The Needle
Thread the needle builds rotational mobility.
From all fours, reach one arm underneath your body, rotating your spine.
(Demo video)
5. Train the Front Rack Position Under Load
Once mobility improves, reinforce the front rack position with load.
Kettlebell Front Rack Hold
Kettlebell front rack holds build strength in the upper back to improve posture..
Clean two kettlebells and hold them at your shoulders with elbows forward and ribs stacked.
Hold for a set amount of time. I like building up to several sets of :45
(Demo video)
Pause Front Squats
Pause front squats reinforce posture as well as develop functional core strength..
Use a lighter barbell and pause at the bottom to hold the position under tension.
(Demo video)
Wrapping Up on Front Rack Elbow Pain
Elbow pain in the front rack position is frustrating, but it’s fixable.
When you address mobility and strength at the wrist, shoulder, and spine, you set your body up to move well and train hard without pain.
Stay consistent, trust the process, and your front rack will feel stronger and more comfortable over time.