Getting Your First Muscle Up In CrossFit: A Beginners Guide
Have you ever been frustrated over getting your first CrossFit muscle ups? Well, I have.
Getting your first muscle up as a CrossFitter can be one of the most painfully frustrating tasks in the gym.
Whether you are trying to get your first set of bar muscle ups or ring muscle ups, getting yourself on top of the bar can seem impossible.
Especially if you are new to CrossFit and trying to develop and train the several other movements thrown at you.
I remember when I first stepped foot inside a CrossFit gym and saw a bunch of insanely fit people lifting heavy weights, moving at lightning speed, and making complex movements seem like they were nothing.
I was in awe as I had been a Strength & Conditioning coach for several years, and I knew my stuff regarding training.
But, I quickly realized that training sports athletes and developing CrossFit Athletes were very different tasks.
As I began to train in CrossFit, I fell in love with it and the feeling of accomplishment as I finished the last rep wall balls of a workout or squeezed in just one more set of push jerks before the timer hit zero.
Yet for the first several months of my CrossFit experience, the muscle remained out of reach, and although I could do strict pull-ups and chest-to-bar pull-ups without issue, each time I got onto the gymnastics rings or pull-up bar to try a muscle up, it was an epic fail.
Fast forward to today, and I have used the same muscle-up progression that I will lay out for you today to turn one of the more complex movements in CrossFit into one that I rarely have to think about as I am training.
In this step-by-step guide, I’ll show you the framework for training muscle ups I have learned over the last 10 years as a CrossFit Coach and Performance Physical Therapist.
The same one I use to help the clients I coach hit their first ring muscle-up or first bar muscle-up so you can not only get your first rep but start knocking out multiple rep sets in no time.
Key Takeaways For Getting Your First CrossFit Muscle Ups
- Getting your first muscle requires excellent mobility around the shoulder so that you can both avoid poor technique and get into the catch position without injury to the chest muscles as you press yourself up from the deep dip position to straight warms.
- Next, you need a blend of total body coordination, core stability, and upper body strength to translate force from your hip drive into the arms.
- Once you have this base level of strength, the next step to get on top of the bar or rings is to learn the kipping movement regarding the muscle up and not a kipping pull-up since they are very different actions.
- The critical difference between chest-to-bar pull-ups and muscle-ups is the height of the hips before you pull with the arms.
Getting the hips to the bar or rings will allow you to move from a hanging position to the top of the pull-up bar or rings more quickly.
How to get your first muscle-up In CrossFit
It comes down to four things if you want to get your first muscle in CrossFit.
- Upper body mobility
- Upper body strength
- A solid hollow body position
- Mastering the kipping movement and muscle-up transitions
If you can combine these four elements, nothing will stop you from getting your first muscle-up.
1. Upper Body Mobility
Having the necessary mobility in the upper body for any variation of muscle ups is the first step for a few reasons.
First, you will almost certainly have to compensate to get your first rep without the right amount of joint mobility in the shoulders, shoulder blades, and upper back.
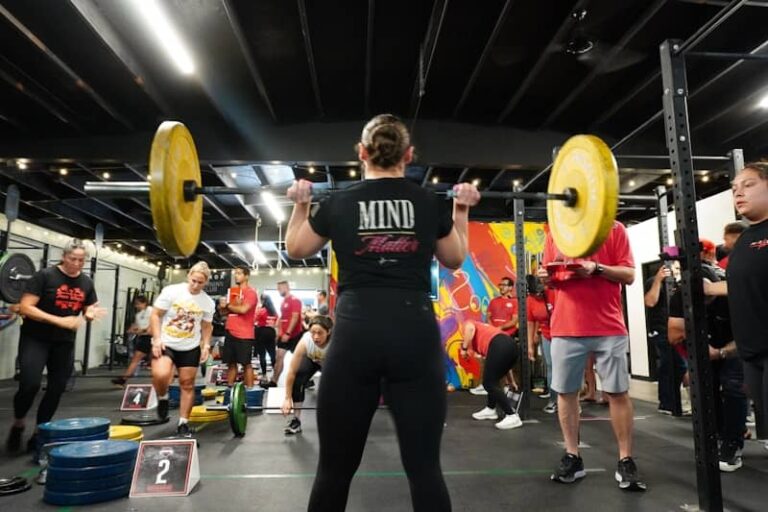
A common injury in CrossFit is a tearing of the pec muscles. Several years ago, Pec tears were prevalent during the 2017 CrossFit Regionals competition, where a whopping 36 CrossFit athletes suffered either a pec injury or actual muscle strains and were eliminated from the competition for not meeting the minimum work requirements.
A strong argument for why this occurred is not having the right amount of mobility at the shoulder to get into the deep dip position for ring muscle-ups.
Plus, if you combine this lack of range of motion for the deep ring dip and explosive power that the athletes are moving with, it is a recipe for overloading the muscle and sustaining an injury.
Beyond the risk of injury performing muscle ups, not having the proper shoulder mobility can affect your movement performance and cause you to lose proper form.
When you lack the range of motion at the shoulder, you can lose the power generated from your legs through movement compensations.
Check out these shoulder mobility drills if you think that range of motion is a limiter for you.
Banded Shoulder Distraction
Scapular CARS
Bottom Ring Dip Holds
2. Prerequisite Upper Body Strength
I think that having enough upper body strength to get your first muscle is probably the most obvious step. Most of us will assume that a baseline level of strength is essential for proper progressions of any of the two muscle-up variations.
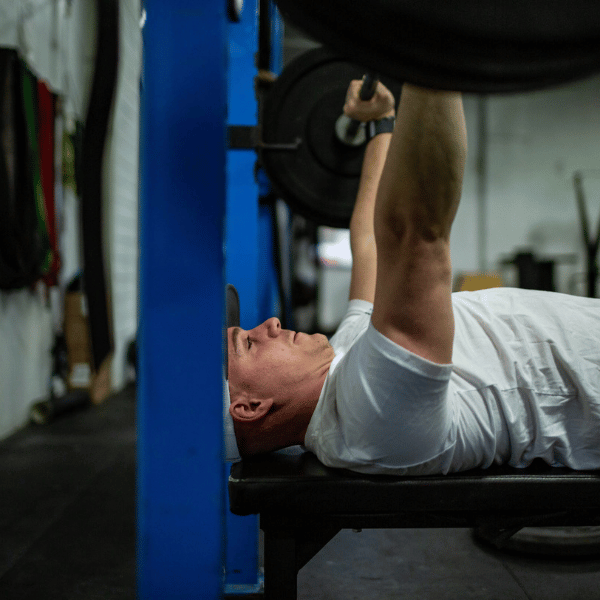
There are two movements that you have to be strong in to perfect and perform the full movement: the pull-up phase and the ring dip phase (or bar dips).
To master these two phases, you will need adequate shoulder, tricep, and grip strength, core stability, and Hercules-like development of the latissimus dorsi muscle, better known as “the lats”.
But I see these phases being trained incorrectly frequently when clients tell me they want to get their first muscle up.
I often see CrossFit athletes thinking they are training for strength, but in reality, they are preparing for muscle endurance.
Upper body strength training involves using heavier loads and lower repetitions to increase the contractile forces of the muscle.
Muscle endurance training involves lighter weights and high repetitions to improve the muscle’s ability to perform repeated contractions.
For example:
Strength:
Weighted Strict Pull-Ups 20X1; 3 x 3 reps; rest 3 minutes between sets
Muscle Endurance:
Ring Dips 20X1; 3 x 10 reps; rest 1 minute between sets
You can see that muscle endurance uses more repetitions and fewer repetitions than muscle strength.
Muscle endurance is vital as a CrossFitter, but when it comes to getting your first muscle up, you must be strong enough to generate the explosive power needed to get over the rings or on top of the bar.
A general rule of thumb floats around the CrossFit scene that you should be able to hit fifteen repetitions of strict pull-ups and ring dips to get your first muscle up.
I don’t agree since when I was first learning how to do a muscle up, I could easily do this. But I didn’t have top-end pull-up and dip strength, and once I did, muscle-ups became easier for me.
An excellent target for this top-end strength is to reach 1.5x your body weight for both the strict pull-up and the weighted dip.
If you weigh 100 pounds, your top-end strength goal is to add a fifty-pound weight to both movements for a single rep.
If you still need to get your first strict pull-up, that is where you need to start.
3. Perfect The Hollow Body Position
The hollow body position is how you can transfer force from your legs into your arms to propel yourself up above the bar or rings.
A hollow position involves activating the abdominal muscles to tilt the pelvis into a neutral position and create a rigid midsection.
It’s one of the most essential core movements to master because, without it, you become a noodle on the rings or bar that has only been cooked at the center.
You have likely seen someone try to get their first muscle up, but they seem all over the place with their hanging position, and the movement just doesn’t seem to be coordinated.
Compared to a higher-level CrossFit athlete, the repetitions seem effortless as they glide up above the bar or rings.
This is because the athlete has mastered the hollow position, so they are not leaking energy anywhere up the chain.
Imagine what kind of performance you could muster with strength in the lower and upper body but marshmallow-level strength between them. Not much, right? Right.
By building a solid core through exercises like planks, strict toes to the bar, and L-sits, you’ll be able to connect the lower body to the upper body and better propel yourself up over the bar.
4. Master The Muscle Up Technique
Once you have excellent upper body mobility, the prerequisite upper body strength, and a solid core for the muscle up, the last piece is to learn how to do the movement.
Follow these steps to get your first muscle up:
- Jump to the rings using a false grip.
- Assume a hollow body position with straight arms.
- Activate the lats and bring the legs forward using a slight lean to generate momentum.
- Extend the hips and lengthen the arms as you maintain a strong core in the arch position.
- Use the core, hip flexors, and lats to pull the legs back through and ascend the body up using a “hip pop”.
- Pull with the arms as momentum ascends the body to the rings or bar.
- Once the hips have reached or nearly reached the level of the rings or bar, use the core and arms to sit up through the rings or on top of the bar.
- Use the arms to press off the rings or bar to complete the movement.
Following this technique will almost certainly get you to your first muscle up, and if you are not there yet, you can break down the full movement into pieces and master each one individually.
For example, you could practice muscle-up transitions by using a set of low rings and performing the sit-through portion after each rep of a set of ring rows.
Common Mistakes To Getting Your First Muscle Up
Here are some common mistakes clients make in my 1:1 Pain-Free Performance Program when trying to get their first muscle up.
Not pulling high enough.
I can’t stress this one enough. Before I got my first muscle up, I spent weeks frustrated over why I couldn’t make it happen. I had all of the necessary components to get my first muscle up.
I had the strength, I had the hollow position, and I knew the technique, so what gives?
I wasn’t ascending my hips to the rings enough.
When this happens and you begin the turnover too soon, you end up in too low of a ring dip position and ultimately bounce your chest on the rings or dips, or you will get into the classic chicken wing position to muscle your way over.
Try getting your hips to the rings or bar before you turn the rep over, and I promise you you will quickly get your first rep. It was the exact cue that worked for me, and I know it will work for you.
Bending the knees on the kip
This goes back to maintaining the hollow body position. It’s easy to forget the core when the legs go behind you on the kip swing since the main focus is pulling up to the rings or bar.
But this is a recipe for never getting your first successful rep.
When you allow the knees to bend behind, much of the energy you created with the back swing gets leaked at the knees, so when you go to bring the legs back through, there is less power to propel yourself upwards.
When you swing backward, try pointing the toes, keeping the knees locked out as much as possible, and only moving at the hips to extend back.
This will preserve the energy to propel yourself upwards and create a longer lever to swing through.
Keeping the elbows bent on the kip swing
It is tempting to keep your elbows slightly flexed when performing the kip portion of the muscle. But this can make it harder for you to get your first rep.
Aside from it being illegal to the CrossFit gods and a one-way ticket to a “no rep” if you ever decide to compete.
The reason is that when you keep elbows flexed during the kip motion, you lose the ability to create the most potential energy with the backswing.
To keep the elbows bent, the shoulder must be static, preventing the lats from lengthening and the spine from extending backward.
So, the only thing you have to swing backward to create momentum is your legs.
This may be enough to get you over the rings, but it will be far from efficient and won’t allow for high repetitions in the future.
Allow the arms to lengthen when you perform the back portion of the kip swing so that you can forcefully pull down and back on the rings or bar and more easily transition to the dip portion of the movement.
Muscle Up FAQ
Why are muscle ups so hard?
Muscle-ups are a challenging movement because they require a combination of strength, power, coordination, and skill that most people like myself do not have when they start CrossFit.
Unless you were a gymnast growing up, the first time you even heard of a muscle up was the first day you walked into a CrossFit gym.
Do I need to use a False Grip?
The false grip will make getting your first muscle easier because it shortens the lever arm with the arms, requiring less work to get over the rings.
Once you get over the rings, it also lets you start in a great pressing position at the hand and wrist.
But, over time, I recommend moving away from it and getting yourself a pair of high-quality gymnastic grips, as the false grip can fatigue quickly, and if you need it to perform the rep, it will slow you down.
Can I use a band to practice muscle ups?
In my experience training CrossFit Athletes and helping them get their first muscle-up, I suggest against this.
The band can create a different movement pattern since it can only recoil in a straight line, and the action of the muscle up is most definitely not linear.
This also goes for “jumping muscle ups”.
Instead of using a band, I would break the full movement into smaller parts, perfect them, and then practice on the rings or bar to put them together.
The Wrap-Up!
Achieving your first muscle-up, whether a ring or bar muscle-up, is one of those milestones in CrossFit that you shoot for to reach the next CrossFit level.
Rightfully so, since it is an advanced movement as far as gymnastics movements go for CrossFitters.
It involves many different parts and requires good positional body awareness and coordination to put them all together into a successful rep.
Then, once you have gotten your first rep, you have to progress the muscle up into a fatigue-based setting. The journey never ends regarding muscle-ups, but that makes training CrossFit enjoyable.
If you follow this guide, I am sure you will get your first successful rep in no time, just like I did and my 1:1 Pain-Free Performance Program clients are doing.
So give it a shot the next time you are in the gym, and if you need some help, feel free to schedule a free consultation HERE.