Deep Dive
5 Steps to Fix Neck Pain Without Stopping Your Training
Neck pain in CrossFit athletes gets dismissed in one of two ways: they either push through it and hope it disappears, or they stop overhead work entirely and lose months of progress.
Neither approach solves the actual problem.
The neck is the top of the chain. When it stops moving well, your shoulders compensate, your thoracic spine locks up, and your overhead position falls apart from the ceiling down.
The good news is that neck pain in CrossFit athletes follows a recognizable pattern. Which means the fix is also recognizable.
Here is how to address it without sacrificing your training in the process.
Why Your Neck Hurts During CrossFit
The most common driver is a combination of restricted cervical mobility and chronic low-grade loading from poor positioning during high-demand movements.
When your thoracic spine is stiff, your neck picks up the slack in every overhead rep.
When your deep cervical flexors are weak, your upper traps and levator scapulae grind through double duty as both movers and stabilizers.
Over time, both patterns create irritation in the facet joints, the surrounding musculature, and occasionally the nerve roots that travel through the cervical spine into the shoulder and arm.
CrossFit accelerates this.
Thrusters, push jerks, handstand push-ups, and barbell cycling all demand that your neck hold position under load and fatigue.
The tissues that stabilize your cervical spine adapt more slowly than your fitness does.
When volume climbs without corresponding mobility and strength to support it, pain shows up often at the base of the skull, across the upper traps, or as a deep ache between the shoulder blades.
Step 1: Assess What You Are Actually Working With
Before you start grinding on a lacrosse ball or stretching aggressively, figure out what type of restriction you are dealing with.
Use a Cervical CARS (Controlled Articular Rotation)
Sit tall in a chair, feet flat on the floor, and brace your core lightly to stabilize your thoracic spine.
Slowly move your head through its full available range chin to chest in flexion, ear to shoulder in lateral flexion, rotation left and right, and gentle extension.
One full cycle per direction, as slow and deliberate as you can manage.
What you are looking for is where movement stops early, where you feel a pinch or catch, and where one side is noticeably different from the other.
Rotation that stops short on one side and pulls through the opposite shoulder tells you the joint is restricted and the surrounding musculature is compensating.
Pain or symptoms that travel down into the arm during any movement tells you this needs professional evaluation before self-treatment.
Three slow cycles and compare sides.
Asymmetry in range, quality, or symptom reproduction tells you where the work needs to happen.
Step 2: Restore Joint Mobility First
Stiff cervical joints are not the same as tight neck muscles.
Stretching the upper trap helps the muscle. It does not change how well the cervical facets glide and rotate. If the joints themselves are restricted, soft tissue work alone will not restore the range you need overhead.
The chin tuck with cervical rotation addresses this directly.
Sit tall, perform a gentle chin tuck to set the cervical spine in a neutral position, and then slowly rotate to the restricted side.
Hold for two seconds at the end range, return to center, and repeat.
Ten repetitions per side before training. The tuck matters — without it, you are just rotating on a compressed joint rather than creating space first.
Follow with thoracic extension over a foam roller.
Position the roller at your mid-back, support your head, and extend over it for thirty to forty-five seconds. Repeat at two or three segments up and down your thoracic spine.
Freeing thoracic extension directly reduces the demand your neck is carrying every time the bar goes overhead.
Step 3: Rebuild Tissue Capacity with Progressive Loading
Mobility creates the window for better movement. Loading that movement is what makes it durable.
The deep cervical flexors (the longus colli and longus capitis) are consistently undertrained relative to how much your neck is asked to do in CrossFit.
Weakness here forces the superficial muscles to dominate every movement, which is the equivalent of only ever using your upper traps to stabilize a barbell overhead.
The chin tuck hold is your starting point.
Lying on your back, or sitting, perform a gentle chin tuck and hold the position for ten seconds without letting your head press hard into the floor.
Three sets of ten repetitions trains the deep stabilizers in isolation before you layer in any load.
For the upper traps and cervical extensors, the prone Y raise builds the posterior chain of the neck and upper back together. Keep the movement slow and controlled, not a momentum exercise.
Three sets of twelve to fifteen repetitions, focusing on scapular depression and upper back engagement throughout.
Step 4: Retrain Movement Patterns Under Load
Strong tissue does not automatically translate into better patterns when you are under fatigue at rep twenty of a thruster workout.
Compensations get practiced thousands of times before pain appears. They require deliberate unlearning.
Start with the wall overhead press with a cervical cue.
Stand with your back against a wall, maintain a gentle chin tuck, and press your hands or a light pair of dumbbells overhead.
The wall gives you immediate feedback if your head juts forward as your arms rise the most common pattern fault in athletes with neck pain.
Add load only when you can complete the full range without your head leaving the wall.
The bottoms-up kettlebell carry builds cervical stability in a standing, moving pattern that directly transfers to every overhead movement in CrossFit.
The unstable load demands constant fine-motor stabilization from the neck and shoulder. Start light, walk with intent, and keep your gaze forward and chin neutral.
Step 5: Modify Your Training Instead of Stopping It
Removing all load signals your tissues that they do not need to adapt. Use the modification window strategically.
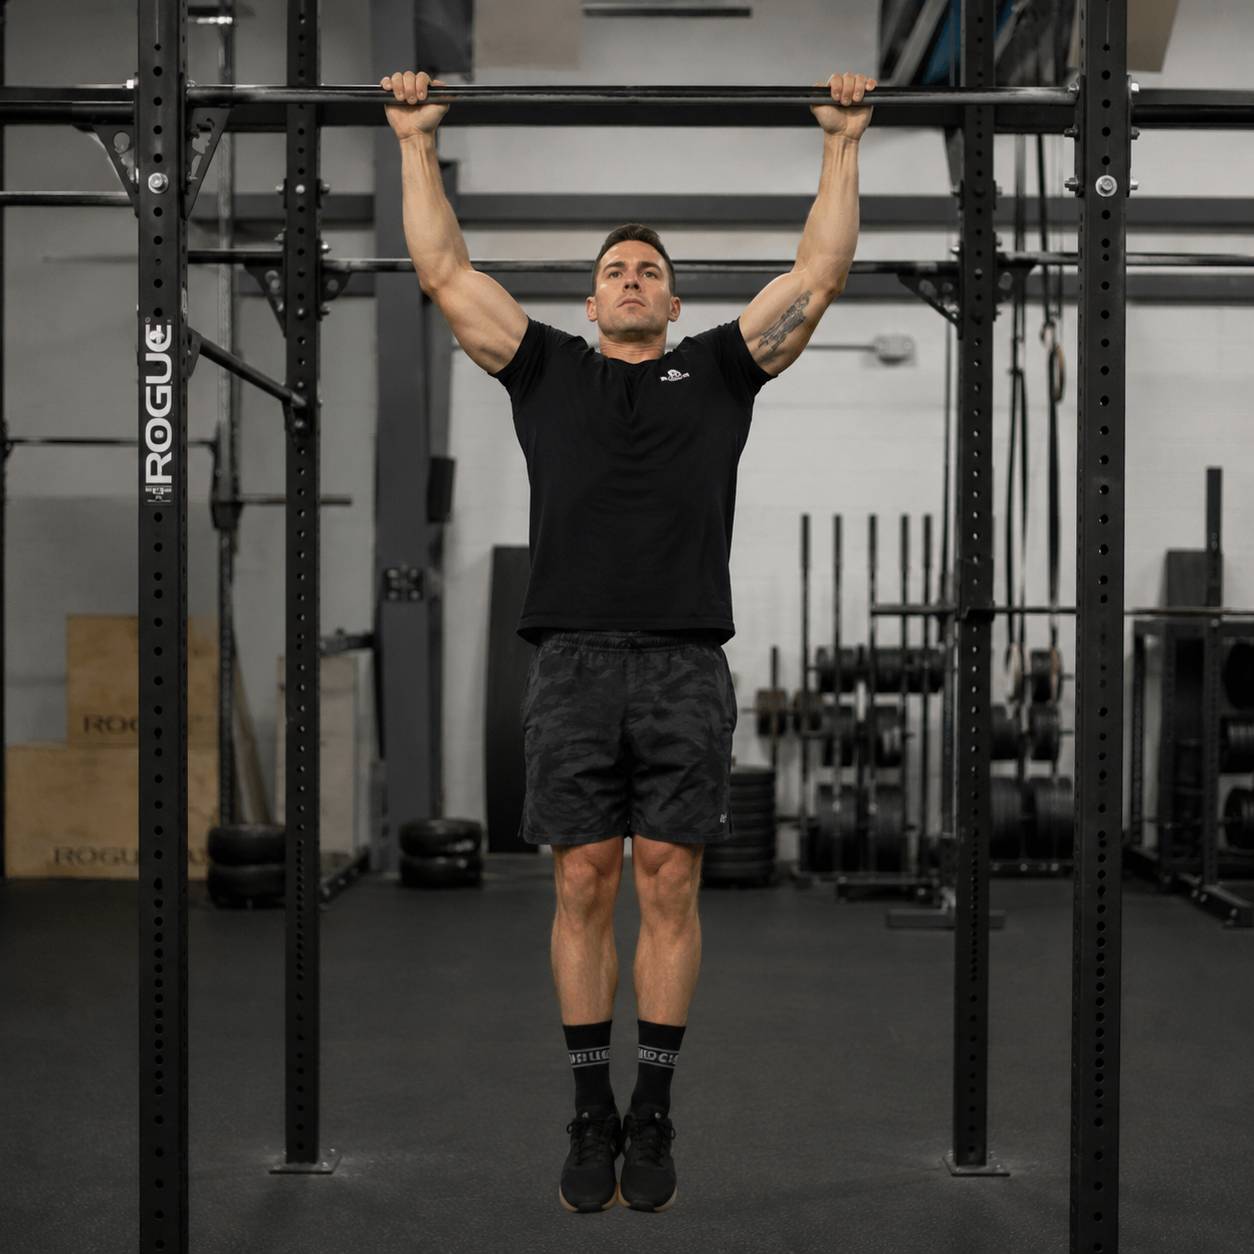
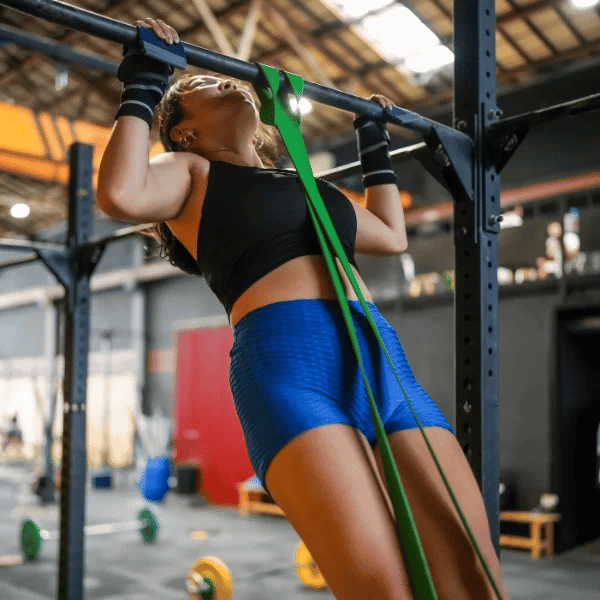
Reduce overhead pressing volume temporarily and substitute strict pulling work. Pull-ups and ring rows build the posterior shoulder and thoracic musculature that unloads the neck passively.
Swap barbell cycling with dumbbells or a lighter barbell to reduce the loading demand through the cervical spine during cycling pieces.
On days where the neck feels reactive, replace kipping gymnastics with strict variations. The aggressive cervical extension-flexion pattern of kipping is a significant load for an already irritated neck.
Wrapping Up on Fixing Neck Pain
Neck pain does not resolve on its own, and piling volume on top of it without a plan builds more dysfunction into every rep.
But you do not need to step away from training to fix it. Work through these steps in order, pay attention to what changes, and treat the process with the same consistency you bring to your lifts.
The athletes who come out the other side with resilient necks are the ones who stopped white-knuckling through it and started treating it like a trainable quality.