How You Can Quickly Improve Shoulder Mobility For CrossFit
As an affiliate partner of various brands and sponsored content, WillPower Strength & Nutrition may earn commission on qualifying purchases at no additional cost to you.
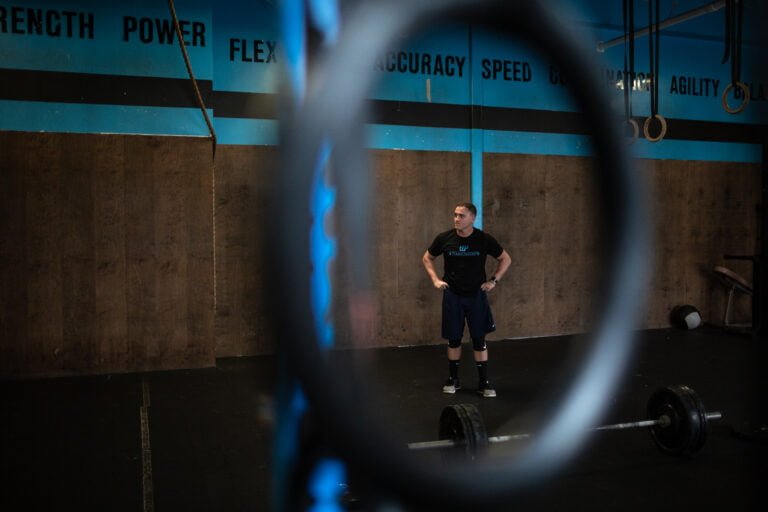
As a CrossFitter, you know how demanding it can be on the shoulder joint. The amount of shoulder mobility and overhead stability that is required in CrossFit to not only perform the movements like Cleans, Snatches, Ring Dips and other shoulder focused functional movements well, but also safely is quite high.
In fact, as a Physical Therapist who works with CrossFit athletes who struggle to stay healthy in their training, I find that the shoulders are one of the most commonly irritated or injured joints.
Primarily related to a mismanagement on the amount of shoulder specific exercise volume that is involved in CrossFit workouts that include the shoulder joint.
But, also a lack of both Shoulder stability, Shoulder mobility, Thoracic Spine mobility and Shoulder Blade stability that creates deviation from what can be considered proper technique.
Ultimately changing the demands and forces at the shoulder.
Fortunately, you can use corrective exercise to address the most common problems I see in CrossFit athletes and improve the mechanics of you Shoulder joint, Thoracic Spine and Shoulder Blades to not only alleviate your pain, but optimize your performance.
In todays, article I will be bringing you through the three step framework I use to assess CrossFit athletes when they begin my 1:1 Pain Free Performance Program including a quick assessment of the shoulder, how I organize impairments and then some exercises I use to address these impairments to regain full range of motion at the shoulder joint.
Assess the Shoulder Joint
When assessing the shoulder complex of CrossFit athletes, there a few main things I am looking at that you can focus on with your own shoulder movement.
These include how well the client can achieve full range of motion in shoulder flexion, shoulder extension, shoulder external rotation and shoulder internal rotation.
As well as how much Thoracic Spine mobility they posses. Most specifically, Thoracic Spine rotation and Thoracic extension.
Just as important is the movement of the CrossFit athletes shoulder blades.
The shoulder blades, also known as the Scapulas are primarily involved in providing a stable base for the ball and socket of the shoulder joint to move as freely as it was designed to do.
The shoulder blades have the ability to elevate, depress, retract, protract, upwardly rotate, downwardly rotate and tip.
The actual Shoulder joint, and Shoulder Blade make up the Shoulder Complex.
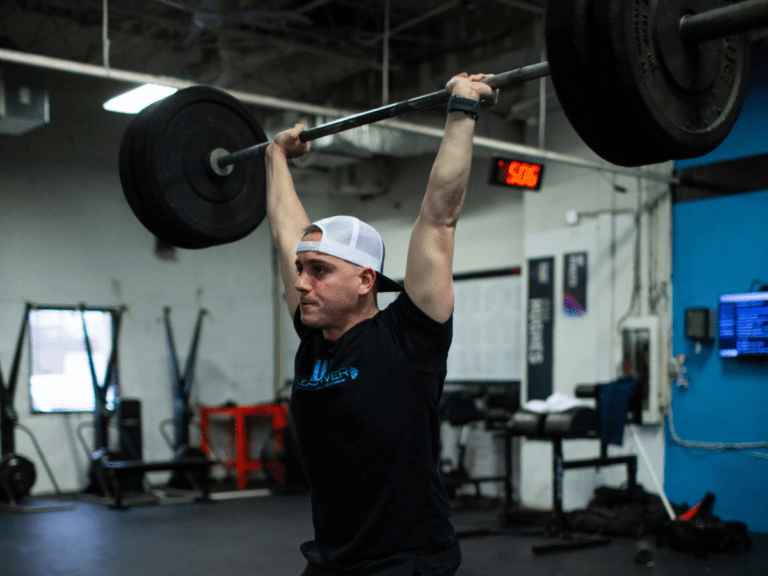
Each facet of the Shoulder Complex is critical to achieving a solid overhead position, front rack position and other positions the shoulder may find it self in during CrossFit workouts such as Handstand Push Ups, Cleans or Ring Dips.
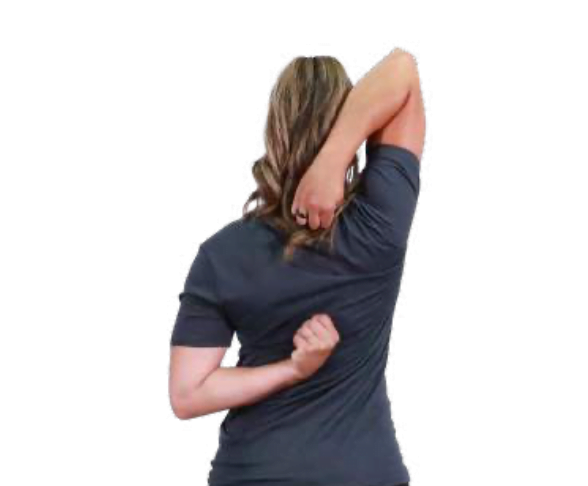
A great way to assess the shoulder joint (and the Thoracic Spine) is to use the “Scratch Test”.
The Scratch Test encompasses all of the movements of the shoulder joint, shoulder blades and upper back to achieve the positions necessary for a passing score.
The Scratch Test is the test I prefer to use as a part of my 1:1 Pain-Free Performance Program because it is extremely efficient and effective at weeding out a mobility limitation even in the remote setting.
It is important to note that the Scratch test is a test of active range of motion for the upper body. Active range of motion is defined as the mobility of a joint that can be achieved through your own muscular effort.
When it comes to achieving a high level of shoulder mobility, passive range of motion will lay the ground work for the range of motion that is available to you.
You can assess your passive range of motion yourself, but it is most accurately assessed with the help of another person.
Fortunately you can expand your passive range of motion with more active corrective exercise through the use of static holds, tempo training and static or dynamic stretches.
To perform the Scratch Test you can follow the steps below:
- Assume the start position by standing tall with good posture, eyes forward and feet under the hips.
- Assume a hook grip with the thumbs tucked inside the fingers.
- One hand will reach above the head and over the shoulder while the other hand will reach behind and up the back.
- Perform at least 3 repetitions with each side.
To pass the Scratch Test, you will be looking to achieve a few things which include:
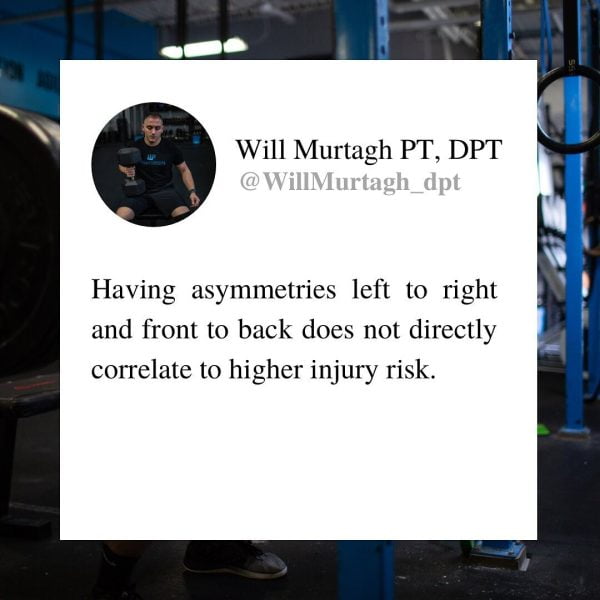
- Left to Right Symmetry.
- The upper arm to be inline with the thorax while keeping a stable core and depressed rib cage.
- How smooth the upper arms can either move overhead or behind the back.
- The ability to retract the shoulder blade.
- How well the shoulder joint can both flex, extend and rotate to achieve the position.
- Any spinal malalignment.
- Movement of the head.
Once you have this assessment done you can then take a look at more functional movements and how well you can achieve positions like an overhead position for Overhead Squats or a full front rack position for Cleans.
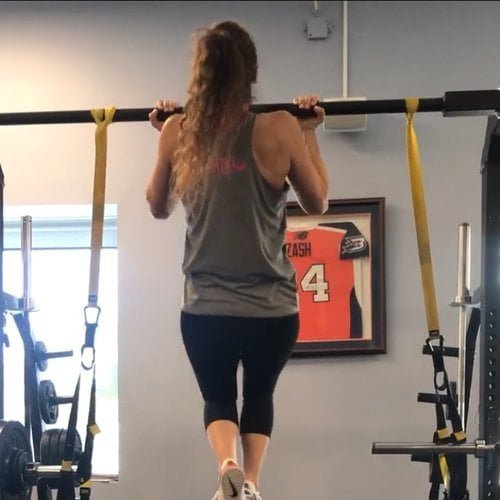
As well as the start position in various gymnastic movements that require good shoulder mobility.
Learn more about assessment: 7 Tips For Avoiding Joint Pain In CrossFit Athletes
Identify The Movement Faults
If you have gone through the Scratch Test and did not achieve a passing score based on the criteria above, you can begin to pick out the movement faults so that your program design can address moving forward.
The most common movement faults during the Scratch test will include:
Inability To Get The Upper Arm Vertical
This will typically be caused by a lack of shoulder range of motion due to either restrictions in the capsule of the shoulder joint, a reduction in the stability of the shoulder blade or strength of the rotator cuff muscles, or limitations in the flexibility of the large muscles like the Latissimus Dorsi and other muscles that work to achieve extension. Which is the opposite of the shoulder flexion.
Limitations in the mobility of the Thorax or Rib Cage can also limit the ability of the upper arm to reach vertical.
The Lower Arm Rounds Forward
This can also be caused by a lack of shoulder range of motion. Similar to the fault above, the capsule of the shoulder joint can be restricted, The stability of the shoulder blade can be impaired and the thorax or rib cage can be limited in its ability to expand.
Excessive Rib Cage Flare On Upper Arm Side (And Lower Arm Side)
In addition to the limitations of shoulder joint range of motion mentioned above, an excessive Rib Cage flare can be related to a lack of core control or strength.
If you do not poses the ability to connect the upper body to the pelvis and contract the core muscles as overhead movement occurs then you will see an extension through the Rib Cage. This occurs when the abdominal muscles are not actively anchoring it down.
Similar to this, a lack of body awareness may also allow for a flaring of the Rib Cage. If you are newer to CrossFit workouts, you simply may not have the mind body connection developed to know how your body is moving in space and some simple cueing is required to correct the movement.
Lateral or Anterior Flexion of The Head
A lateral flexion or head nod away from the upper arm or in the anterior direction will be a movement fault caused by any or all of the impairments mentioned above.
Winging of The Shoulder Blades
The winging of the shoulder blades can be caused by a lack of body awareness. This is primarily seen when the shoulder blade must detach itself from the Rib Cage to compensate for a lack of Shoulder Extension, Internal rotation, or shoulder muscle flexibility.
As well as if the Rotator Cuff Muscles are not strong enough to stabilize the shoulder as it moves through the required motion.
Many of the deviations from good form on the Scratch test will caused by the same impairments. This makes sense because the body does not move in isolation but is a complex and interconnected system.
For example, a lack of shoulder joint mobility can cause the upper arm to not reach vertical but can also cause the shoulder blade to detach from the rib cage.
When improving shoulder mobility for CrossFit athletes like yourself, you will mostly likely be concerned with improving passive range of motion through shoulder flexibility and joint mobility work, building strength and shoulder stability, enhancing core strength and stability, and lastly improving the strength balance of the shoulder both side to side and front to back.
Learn more about shoulder specific strengthening: Treating Rotator Cuff Tendinitis with Strengthening
Transitioning To Exercise Selection
Once you have gone through The Scratch Test and identified which areas of the movements that you need to improve upon you can then use specific exercises to do so on a daily basis.
Fortunately many of the exercises that I am going to show you here are ones that you can easily incorporate into daily training sessions so you can avoid prolonged warm ups or sacrifice more functional movements like Bench Presses that are the best bang for your buck exercises for improving your fitness.
To properly classify which kinds of exercises will be optimal for each movement fault that we identified in the section above, we will return to the potential causes we outlined.
As a quick summary, the potential causes included:
- Lack of shoulder joint range of motion (Active and Passive)
- Shoulder Blade instability
- Restricted Rib Cage
- Lack of core control
- Lack of body awareness
To outline how to address these I will break them out so you can see which kinds of exercises fit best in each one of the movement faults.
(You can grab all of the equipment needed for these exercises through the links provided below!)
Lack of Shoulder Joint Range of Motion
To improve isolated shoulder joint range of motion I love to use Functional Range Conditioning principles of expanding the available joint space. To do so you will use a combination of static stretching and then active joint movement.
This allows you to expand the available motion that you have and then also strengthen the muscles within that range to solidify the gains that are made.
Below are exercises to do so:
Shoulder External Rotation PAIL/RAIL
Shoulder Internal Rotation PAIL/RAIL
Shoulder Blade Instability
Shoulder Blade instability will usually come about when the Peri Scapular muscles as well as the Rotator Cuff muscles are not strong enough to do their job.
These muscles include the Levator Scapulae, Upper Trapezius, Mid Trapezius, Lower Trapezius Rhomboids, Pec Minor, Supraspinatus, Infraspinatus, Subscapularis and Teres Minor.
These exercises are great options to strengthening these muscles:
Restricted Thorax / Lack of Body Awareness
Building body awareness comes from practicing functional movement patterns and becoming connected to the muscles and joints working.
Expanding the Thorax or Rib Cage mostly will be done through breath work and exercises that challenge the soft tissue and joints around the torso. These two although different can be trained together.
Here are a few exercises to do so:
Lack of Core Control
A lack of core control can simply be that the muscles around the abdomen need to improve their ability to engage and be recruited while upper body motion occurs.
Given that the limbs of the body cannot operate without a stable base (the core) of support, building a strong core is imperative to optimal shoulder mobility.
Here are a few exercises to do so:
You can now start incorporating these exercises into your mobility work or your traditional training routine on a daily basis.
Although the amount of shoulder motion that is needed for CrossFit is high, improving you shoulder mobility doesn’t need to be complicated.
You simply need to determine where you are at, what faults you have in your movement, what the potential causes are and lastly select exercises that are individualized to you so that you can improve your motion as quickly as possible.
This three step framework is the exact framework I use for my 1:1 Pain-Free Performance clients to improve the motion at their shoulders.
Hopefully you can take this and get to work on your own shoulder mobility to reduce the risk of injury, eliminate pain and improve your performance, fast!
If you would like some help from a performance physical therapist who specializes in helping CrossFitters train pain-free I encourage you to book a free consultation HERE to see how I can help you reach your training goals!